Creating a password protected page in WordPress is an easy way to hide sensitive content. However, the default design of these pages appears default. If you want the page to match your brand or look professional, you can customize it. To customize the password protected page in WordPress, you may need help from a professional if you don’t know how to write CSS code. However, you can use the plugin to change the style.
In this article, we will guide you on how to style a WordPress password protected page.
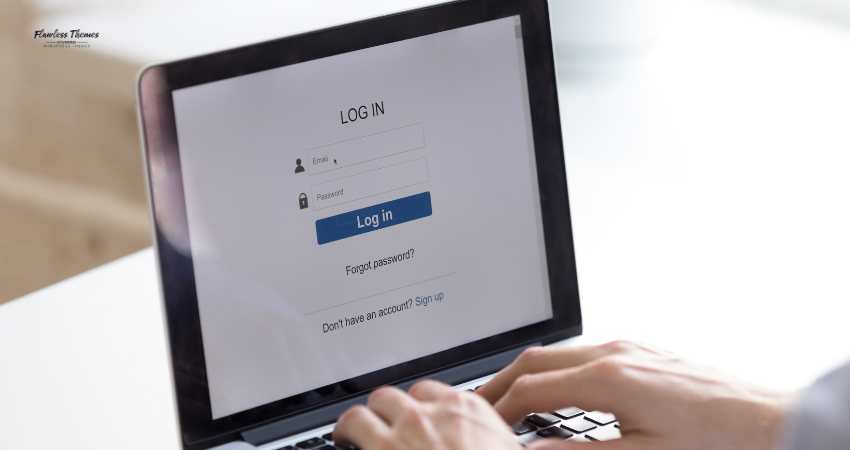
What Is a Password Protected Page?
A password protected page in WordPress allows you to hide content behind a password. Visitors can only view the content after entering the correct password. This feature helps when sharing exclusive information with specific users, like members, clients, or customers.
The standard design may look boring and not match your website’s theme or branding. However, you can change the page’s style with some simple coding or plugin.
Steps to Style Your Password Protected Page
1. Create a Password Protected Page
If you don’t have a password protected page ready, you can create one by following these steps.
- Go to Pages on your WordPress dashboard.
- Click Add New.
- Write the page title and content.
- On the right side, under Visibility, select Password Protected.
- Enter your desired password.
- Click Publish to save the page.
Your protected page is now ready. The next step is to style it.

2. Understand Where to Add CSS
You will need CSS to change the page’s appearance. CSS controls the appearance of elements like text, buttons, and backgrounds on your website.
You can add custom CSS in two ways:
- Theme Customizer: Go to Appearance > Customize and click Additional CSS.
- Child Theme’s style.css: Add the CSS directly to the style.css file if using a child theme.
We recommend using the Additional CSS option for quick changes.
3. Identify the CSS Class
The password protected page uses specific CSS classes. You need to identify these classes to customize the page.
- Open your password-protected page in a browser.
- Right-click on the page and select Inspect (or use F12).
- Look for classes like .post-password-form.
These are the elements you can style with CSS.
4. Add Custom CSS to Style the Page
Here are some CSS examples to get you started.
Change the Background Color
You can set a new background color for the password form using this CSS:
.post-password-form {
background-color: #f5f5f5;
padding: 20px;
border-radius: 5px;
}
Customize the Password Input Box
Make the input box look more appealing:
.post-password-form input[type=”password”] {
border: 2px solid #000;
padding: 10px;
width: 100%;
max-width: 300px;
}
Style the Submit Button
You can also style the submit button, making it more appealing. Let’s design the submit button.
.post-password-form input[type=”submit”] {
background-color: #0073aa;
color: #fff;
border: none;
padding: 10px 20px;
cursor: pointer;
transition: background-color 0.3s;
}
.post-password-form input[type=”submit”]:hover {
background-color: #005a8b;
}
These changes will give your page a new look that aligns with your brand.
5. Add a Background Image
You can add a background image to make the page look more professional and elegant. You can also try some background colors, requiring extra coding skills.
body {
background-image: url(‘your-image-url.jpg’);
background-size: cover;
background-position: center;
}
Make sure to replace ‘your-image-url.jpg’ with the actual image URL.
6. Adjust Fonts and Text Alignment
Use the following CSS to change the font style and alignment of the password form text:
.post-password-form p {
font-family: Arial, sans-serif;
font-size: 16px;
text-align: center;
}
This will make the text look neat and easy to read.
7. Add Space Between Elements
Sometimes, the default form needs to be fixed. You can add spacing between elements using margin or padding:
.post-password-form input {
margin-bottom: 15px;
}
This will add space between the password field and the submit button.
8. Use a Custom Message
Consider changing the default message on the password page, which may need to look better for your brand. Here’s how to do so by editing the page content.
- Go to Pages in the dashboard.
- Open the password-protected page.
- Add a custom message like “Enter your password to access exclusive content.”
Conclusion
You can change the background, customize the input field, and style the button to fit your brand. Adding a background image and custom fonts will also improve the page’s look.
You can create a professional and welcoming page with the CSS examples provided. If you are uncomfortable with CSS, you can use a plugin like CSS Hero or YellowPencil. These plugins let you customize any password protected page with a visual editor without writing code.