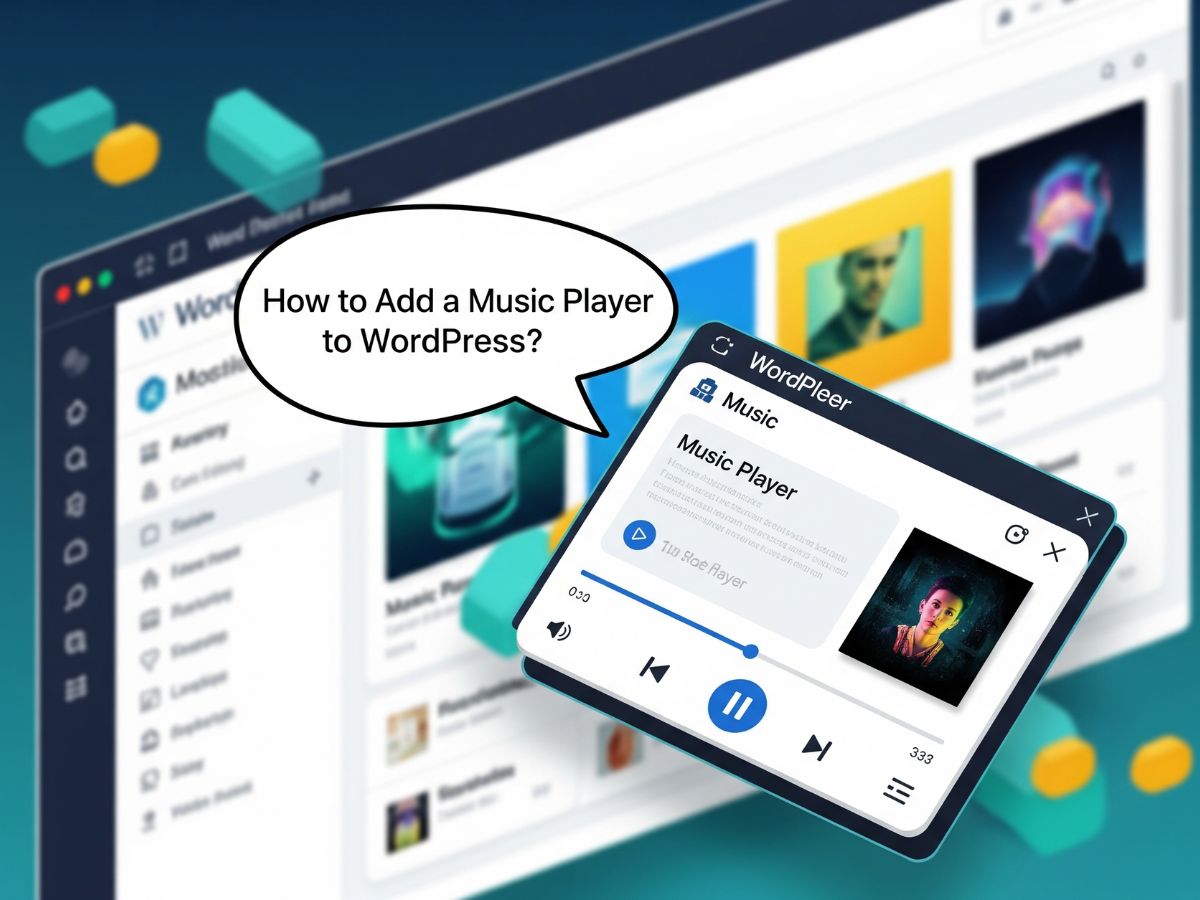
Adding a music player to your WordPress website is a great way to make your site more engaging. Whether you’re a musician, podcaster, or run a brand that uses audio, WordPress lets you easily embed or upload a music player. You can let visitors listen to your tracks directly on your website without extra downloads or apps.
Let’s go step by step and see how to do it.
Step 1: Know What a Music Player Does
A music player lets visitors listen to audio files such as MP3s, podcasts, or background music directly on your site. You can use it to:
- Stream songs and albums.
- Share podcasts or interviews.
- Play background music on a page.
- Let users preview tracks before purchase.
Step 2: Use the Built-in WordPress Audio Block
WordPress comes with a basic audio block that plays simple MP3 files.
Steps:
- Go to your WordPress dashboard.
- Open a post or page where you want the music player.
- Click the + icon and search for Audio.
- Upload your MP3 file or select it from the media library.
Once added, WordPress will show a small audio player with play, pause, and volume options.
Tip: This method works best for single tracks, podcasts, or background clips.
Step 3: Use a Music Player Plugin
If you want more features, you can use a music player plugin. Plugins give you playlist controls, album layouts, and streaming options.
Best Music Player Plugins:
- AudioIgniter – Create playlists and embed them anywhere.
- Compact WP Audio Player – Simple and lightweight player.
- MP3 Music Player by Sonaar – Great for musicians and bands.
- HTML5 Audio Player – Supports multiple formats and designs.
Example: How to Use AudioIgniter
- Go to Plugins > Add New in your WordPress dashboard.
- Search for AudioIgniter.
- Click Install Now, then Activate.
- After activation, go to AudioIgniter > Add New Playlist.
- Add your songs and titles.
- Copy the shortcode it gives you.
- Paste that shortcode into any page or post.
Your playlist will now show a sleek audio player on your site.
Step 4: Use a Page Builder for More Design Control
If you use Elementor, Divi, or Beaver Builder, you can use built-in audio widgets.
In Elementor:
- Edit your page with Elementor.
- Drag the Audio widget into your page.
- Add your audio file URL or upload an MP3.
- Style it — change colors, width, and background.
This gives you more control over design and placement.
Step 5: Add a Music Player to the Sidebar or Footer
If you want your music player to stay visible on every page, you can add it to your sidebar or footer.
Steps:
- Go to Appearance > Widgets.
- Add a Custom HTML widget.
- Paste the shortcode from your music plugin (like AudioIgniter).
- Save the changes.
Now your player will appear across all pages.
Step 6: Embed a Music Player from External Platforms
If your music is hosted on another platform, you can easily embed it.
Spotify
- Go to your Spotify track or playlist.
- Click the Share > Embed option.
- Copy the code.
- In your WordPress editor, add a Custom HTML block.
- Paste the code.
SoundCloud
- Open your track on SoundCloud.
- Click Share > Embed.
- Copy the code and paste it into a Custom HTML block.
Both will show a stylish, built-in player that users can interact with.
Step 7: Optimize for Speed
Large audio files can slow down your site. Follow these steps to keep it fast:
- Use the MP3 format for a smaller file size.
- Compress your audio with free tools like MP3Smaller or Online Audio Converter.
- Use caching plugins like WP Rocket or LiteSpeed Cache.
This ensures fast loading even with multiple tracks.
Step 8: Protect Your Audio Files
If your music is original, protect it from unauthorized downloads.
- Use Easy Digital Downloads if you sell music.
- Limit downloads to paying users.
- Add watermarked previews for free tracks.
- Use plugins like Prevent Direct Access to hide file URLs.
This way, only authorized users can access full downloads.
Step 9: Add Playlists to Your Store or Portfolio
If you sell music or showcase projects, add playlists to product pages.
In WooCommerce, you can add the playlist shortcode to the product description. This allows customers to preview your songs before buying.
It’s a simple but effective way to increase engagement and sales.
Step 10: Test on All Devices
Before going live, check that your music player works on:
- Desktop browsers
- Mobile devices
- Tablets
Make sure buttons, volume controls, and playlists display properly everywhere.
FAQs
Q: Can I play multiple songs in one player?
Yes. Use plugins like AudioIgniter or MP3 Music Player to create playlists.
Q: Will the music stop when users change pages?
Yes, by default. To keep playback continuous, you need a sticky or floating player plugin, such as Sonaar Player.
Q: Can I add background music that loops automatically?
Yes, but it’s not recommended. Many browsers block autoplay audio. Instead, let users click play manually.
Q: Can I add lyrics or descriptions to my tracks?
Yes. Most plugins allow custom descriptions, links, and album details.
Final Thoughts
Adding a music player to WordPress is flexible and straightforward. You can use the default audio block, a plugin, or an embed from Spotify or SoundCloud. If you want advanced features, go for plugins like AudioIgniter or Sonaar Player.
Keep your site fast, organized, and easy to use. Once it’s ready, your audience can enjoy your music right from your website — anytime, anywhere.